Tried and True
Client Relies on Extension for Nutritional, Health Information
Story by Leah Barbour • Photos by Kevin Hudson
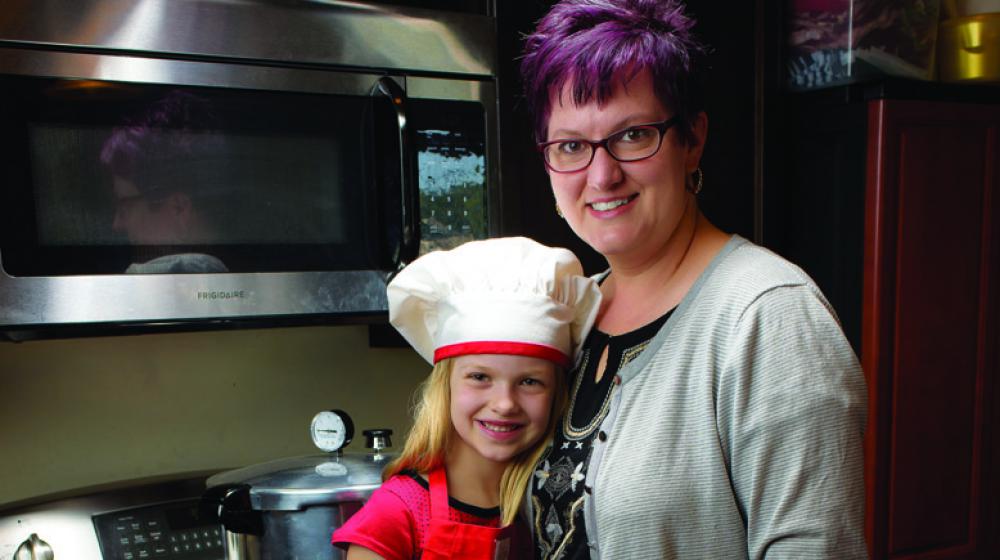
For anyone relying on Pinterest, Facebook, or other online recipe sites to plan healthy meals, Marilyn Lunsford is encouraging those home cooks to look in a different, more local place.
“You don’t know who’s posting, and you don’t know if it’s got science backing,” she explains. “So, I’m more careful about my recipes than just going to any website; Extension is the place to go for that kind of information because it has the research base to keep my family healthy.”
When Lunsford moved to DeSoto County from Pennsylvania in 2014, she was entirely new to Mississippi. However, she knew the national Cooperative Extension Service is available in every state. She also knew Extension would be the place to enroll her children in the 4-H youth development program, as well as a source of home-gardening advice.
“I’ve always appreciated eating healthy and cooking from scratch. It’s how I grew up,” she says. “Extension is the go-to place for food and nutrition information just because of the research base in Extension.
“I would say that anyone who wants to improve their family situation, whether nutritionally or financially, or just wants to discover new hobbies, should call the Extension office or visit their website.”
After visiting the local Mississippi State University Extension Service office in Hernando, Lunsford was thrilled to discover that the county office offered programming on a multitude of subjects.
“The first class I came to was a food-preservation series,” Lunsford remembers. “At age 42, I had a heart attack, and our family wanted to eat in more often instead of going to restaurants. The Extension classes helped me to see some of the ways to get things done more efficiently but still be healthy.”
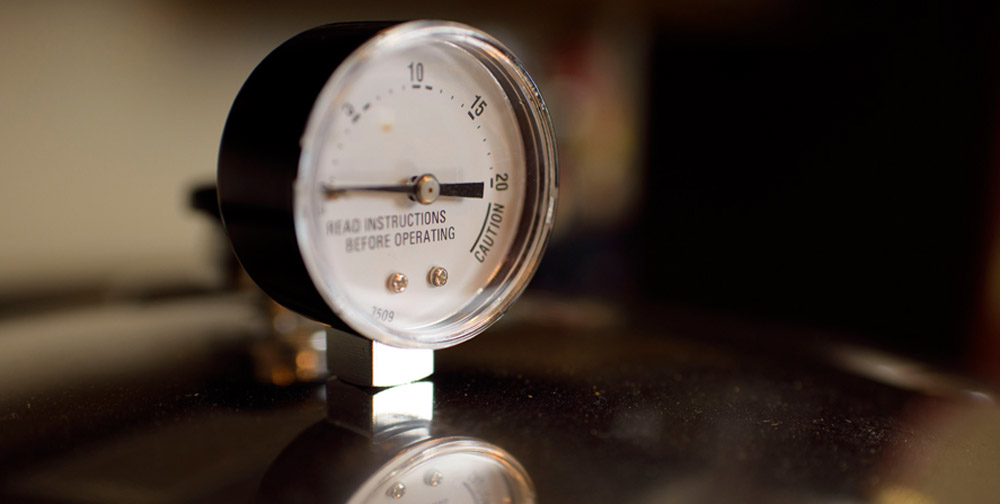
Lara Angel, the local family and consumer sciences agent, organizes the food-preservation classes, as well as other hands-on courses that teach cooks to use kitchen equipment that may seem intimidating, like pressure cookers and slow cookers. Angel’s family and consumer science programs also include information about how to store food to keep it safe to eat and tasting good, too.
“Vegetables that go straight into the freezer won’t taste right,” Angel warns. “The enzymes would continue to work on the food, and it will continue to rot because there was no enzymatic stopping by blanching.
“One time, I had a man who swore that his corn tasted great with the pillowcase method, where you just put the corn in the pillowcase and put it in the freezer,” she continues. “I asked him to do both, blanch it and freeze it, and he came back and said what we had done, the blanching, tasted better.”
Lunsford laughs and reinforces Angel’s point: Using science only enhances your cooking, and the more you know, the better.
“If you watch food-cooking shows, they may have research-based information, but there’s so many things you don’t see, and they leave the food just sitting out,” Lunsford says. “There’s nothing hidden when you come to classes here, and Lara gets inspiration for the classes from Facebook and Pinterest.”
Angel says being up-to-date on social media trends helps keep her audiences interested in attending the courses. She also polls them to see what they’re interested in learning. Then, she ties it all together in audience-specific, research-based, hands-on lessons.
“We try to give clients a realistic viewpoint: tried and true,” she says. “We just talk about real-life situations. We deliver research-based information, not just whatever’s popular at the time.
“And everyone can taste the difference."
Marilyn's Extension-Recipe Favorites
How to Cook Spaghetti Squash in Electric Pressure Cooker*
1 spaghetti squash (around 3 pounds)
1 cup water
1. Put the rack that came with your electric pressure cooker in the bottom of the stainless insert.
2. Pour 1 cup water over the rack, and set whole spaghetti squash on top of the rack.
3. Assemble your electric pressure cooker according to manufacturer directions. Lock in place. Turn the pressure knob to the pressurize position. Cook high pressure for 20 minutes with quick venting release.
4. Lift squash out of the pot using tongs and/or a hot pad. Set it on a cutting board. Cut it in half, and let it start to cool off. Cut the squash horizontally across the middle instead of lengthwise if you want longer noodles.
5. Remove the seeds by scooping them out from the spaghetti squash; discard. With a fork, scrape the sides of the squash to make noodles.
6. Season spaghetti squash with salt to taste and use in place of regular pasta noodles in your favorite recipes.
*This recipe was provided courtesy of Plate It Up Kentucky Proud, a partnership project among the University of Kentucky Cooperative Extension Service, Kentucky Department of Agriculture, and UK School of Human Environmental Sciences.
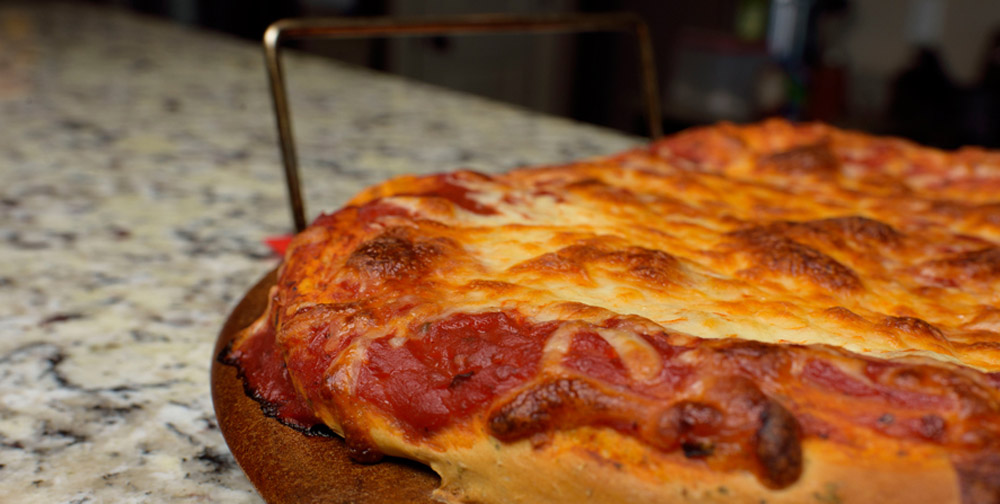
Basic Pizza-Dough Recipe
2½ cups bread flour, divided
2¼ teaspoons active dry yeast
½ teaspoon salt
1 cup warm water (120–130°F)
2 tablespoons olive oil
2 tablespoon molasses (sugar or honey works, too)
1–2 tablespoons Italian seasoning
- In a large mixing bowl, combine 1¼ cup of the flour, yeast, and salt; add warm water and oil, molasses, and Italian seasoning. Beat with an electric stand mixer with dough hook on low speed for 30 seconds as you scrape bowl. Beat on high speed 3 minutes. (Hand-mixing is the alternative to using an electric mixer and will give a great workout.)
- Mix in as much of the remaining flour as you can; knead to make a moderately stiff dough that is smooth and elastic (6 to 8 minutes total).
- Divide dough in half and cover; let rest for 10 minutes. Use to make...
Pan Pizzas—Grease two large pizza pans. If desired, sprinkle with cornmeal. With greased fingers, pat dough onto bottoms and create an edge crust. Cover and let rise in a warm place until nearly doubled (30 to 45 minutes). Bake in a 375-degree oven for 20 to 25 minutes. Spread sauce onto hot crust and top with favorite toppings. Bake for an additional 15 to 20 minutes.
Thin Crust Pizzas—Grease two large pizza pans. If desired, sprinkle with cornmeal. With greased fingers, pat dough onto bottoms and create an edge crust. Do not let rise. Bake in a 425-degree oven about 12 minutes or until browned. Spread sauce onto hot crust and top with favorite toppings. Bake for 10 to 15 minutes more until hot and bubbly.
*This recipe was provided by Lara Angel, the Extension agent who shared it with participants in the nutrition program she delivers.
Pizza-Making Tips
Add your favorite pizza sauce, meats, vegetables, and cheeses over the hot, partially baked crust. One jar of sauce is usually enough for 1½ to 2 pizzas. One pound of meat per pizza is a generous portion, and 2 to 3 cups of cheese per pizza is usually plenty for a cheesy pizza!