
Transplanting
Transplants Can Shorten Planting-to-Harvest Time
Some vegetables are planted in the garden using small plants (transplants) rather than seeds. This is standard practice with warm-season vegetables like tomatoes, peppers, and eggplant, and is becoming the practice with cucumbers, squash, cantaloupes, and watermelons because transplants shorten the time by several weeks between planting and harvest.
Sweet potato plants are grown from stored sweet potato roots and not from true seed. In the early spring garden, transplants of cabbage, broccoli, cauliflower, head lettuce, and onions are recommended.
Not all vegetable plants transplant with the same degree of ease as small seedlings or when setting them out in the garden. But even vegetables described as difficult to transplant can be transplanted into the garden with great success when they are started in containers.
supplemental light source.
Here are some advantages to growing your own plants:
- They are often less expensive to grow than to buy.
- They are available when you need them. You grow the varieties you want and are not forced to accept substitutes.
- You avoid the danger of bringing in diseases and insects.
You can successfully grow transplants of many vegetables by following a few simple guidelines:
Seed. Use fresh seed from a reputable source. Transplants require several weeks to grow, so get your seeds early. Do not buy too much seed. A small amount produces many plants. If the seed has not been treated with a fungicide as indicated on the package, do so with a small amount of fungicide. (See the Before-You-Plant Practices section on seed treatment on page 17.)
Soil. Most garden soils are not good enough to be used for raising transplants because they are poorly drained and contaminated with disease and weed seeds. Several commercial sterile soilless mixes are available. Prepare a soilless mix using these ingredients:
2 quarts Sphagnum peat moss
1 quart vermiculite
1 quart perlite
1 tablespoon limestone
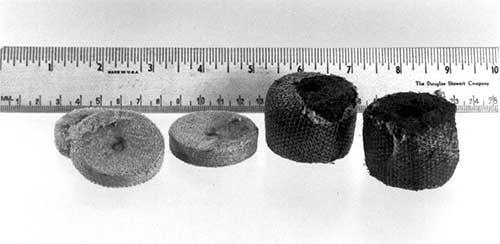
Container. Containers for seed germination can be plastic egg cartons, half-pint milk cartons, small trays, aluminum foil loaf pans, pie tins, peat pots, or peat pellets. Make sure there are drainage holes in the bottom of the container before filling the container nearly to the top with the mix. Wet the mix thoroughly and let excess water drain. Expandable peat pellets (available at nurseries and garden supply stores) eliminate the need for a mix and a container except for one to hold the pellets.
Place dry, flat pellets in a shallow tray and sprinkle them several times with warm water until they are completely expanded. Allow a little time between sprinklings. Surround the expanded pellets with sand or vermiculite to hold them upright and slow their drying between waterings.
Planting Seeds. Do not plant seeds too thickly. When using trays or pans, plant the seeds in rows and cover with one-fourth of an inch of mix. When using individual containers, plant two or three seeds per container. With the expanded pellets, make a small depression in the top and drop in the seeds. Plant seeds of watermelons, squash, and cucumbers in individual containers.
Transplants are recommended for seedless watermelons. To aid germination, plant seedless watermelon seeds with the rounded end facing down and the pointed end facing up.
Germination. Cover containers with a piece of plastic, or slip them into a clear plastic bag to keep the humidity high. The best temperature for germination is 80 °F. As the temperature drops below 80 °F, germination slows. Tomato, pepper, and eggplant seeds won’t germinate at temperatures below 60 °F. Even at the optimum temperature, eggplant and pepper seeds may take 2 weeks to germinate.
As soon as the seedlings begin to come through the mix surface, remove the cover, lower the temperature, and increase the amount of light to prevent spindly growth. Use cool, white 40-watt fluorescent tubes placed several inches above the seedlings for 18 hours a day for a supplemental light source.
Tomato, pepper, and eggplant seedlings grow best when the day temperature is 70 to 75 °F and the temperature at night is 60 to 65 °F.
Broccoli, cabbage, and cauliflower prefer cooler temperatures—65 to 70 °F during the day and 55 to 60 °F at night. At these temperatures, broccoli, cabbage, and cauliflower take 5 to 7 weeks to reach the size for transplanting to the garden. Peppers and eggplant may need 8 to 10 weeks to reach the size for setting out in the garden.
Thinning and Transplanting. Individual containers with more than one seedling must be thinned to one plant. Pinch out or cut off the extra seedlings while the first leaves are still small.
Seedlings germinated in trays must be transplanted to individual containers while still small. Lift and separate seedlings and replant them into individual containers such as peat pots, plastic cel-paks (saved from previously purchased transplants; be sure to wash them), peat pellets, or other small containers. Use a commercial soilless potting mix or prepare your own.
Fertilizer. Some potting soils contain a small amount of fertilizer but not enough to grow the seedlings. Homemade mixes of peat, vermiculite, and perlite contain no fertilizer. Seeds contain a small amount of nutrients to get the seedling started, but you must supply fertilizer such as water soluble 20-20-20. Prepare a fertilizer solution following instructions on the container.
Disease. Damping-off is the major disease that attacks seedlings. Seedlings appear pinched at the soil line, fall over, and die. Control this disease by thoroughly watering (drenching) the growing mix after planting the seeds with 1 tablespoon of Captan (50 percent wettable powder) per gallon of water.
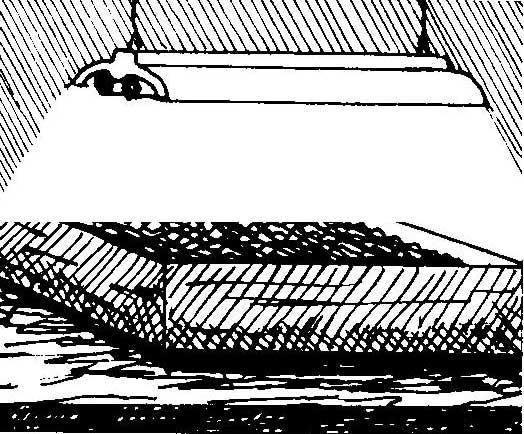
Hardening Off. Transplants grown in a cold frame are stockier and better able to withstand outside garden conditions than transplants grown indoors or in a greenhouse. Before setting out tender transplants, place them in a cold frame for 1 to 2 weeks to acclimate them to colder temperatures, brighter light, and wind. This greatly increases their chances of survival once set in the garden.
setting in the garden.
Cold Frame
Cabbage, broccoli, and cauliflower transplants can be easily grown in an outside cold frame. Build a simple frame and cover it with polyethylene. Plants grown in a cold frame require 8 to 10 weeks to reach the size for setting in the garden, so start early. Place the cold frame in a sunny location with the low side facing south and the high back facing north. Paint the inside white to reflect light and promote uniform growth.
Since temperatures in a cold frame are frequently below the optimum for seed germination, plant seeds in a soilless mix in trays and germinate them indoors. Once the seeds have germinated, move the trays to the cold frame. Open the cold frame cover for ventilation or remove it on clear days when the air temperature is 45 degrees or higher. Thin the seedlings to stand one-half inch or more apart. Crowding results in spindly, weak transplants. Fertilize to promote growth.
Growing onion transplants requires considerable time. Start by planting seeds in September or October in closely spaced rows in a cold frame. Transplants will be ready for setting out in January and February. To have transplants of cabbage, broccoli, and other cool-season vegetables ready in time for spring planting, you must start very early in the year, which may not be practical. Transplants of these vegetables can be grown for the fall garden.
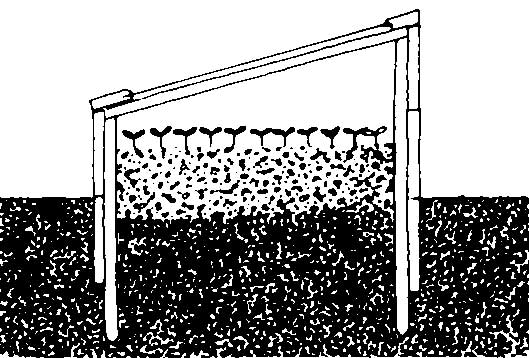
Sweet potato transplants (slips) are produced by planting potatoes in beds of sawdust or sand. Maintain the temperature in the bed close to 80 °F. Since disease problems can be carried on the mother roots and transmitted to the slips, it is better for gardeners to purchase their sweet potato slips or to use vine cuttings. Vine cuttings are made by cutting potato slips above the surface of the bedding material. The cuttings develop roots rapidly when planted in warm, moist garden soil.
Buying Transplants
When buying vegetable transplants, select recommended varieties when possible. Plants with good roots that are healthy, stocky, medium-sized, and free of disease or insects are best. Avoid yellow, spindly, or oversized plants and those with spotted foliage, brown marks on the stems, or knots on the roots. Buy plants in containers (fiber pots or plastic tray packs) so that root systems are intact and protected. Bundles of bare root plants (cabbage, onions, broccoli, peppers, lettuce, and tomatoes) should be fresh, have a good green color, and have moist and healthy roots.
Transplanting to the Garden
Transplants of cucumbers, squash, and melons grown in small containers must be set in the garden while still quite young (cotyledons expanded and first leaf showing), about 3 weeks after planting the seeds.
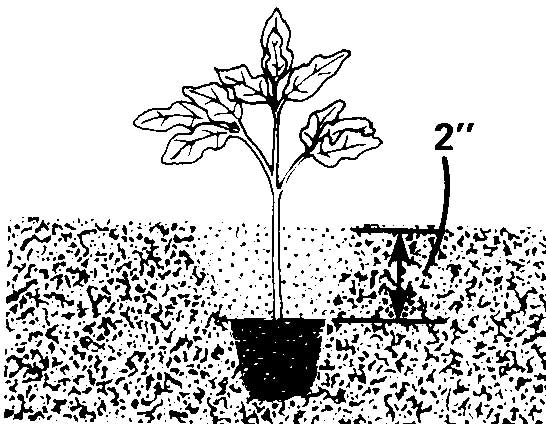
If possible, set all vegetable transplants on a cloudy day or in the evening. Place peat pots and other fiber pots directly into the planting holes. Be sure to cover the upper edges of the pots with soil to prevent wicking the moisture out of the pots.
Starter Solution. Starter solution is a dilute mix of a water soluble fertilizer high in phosphorus, such as 11-57-0. Used at the rate of 1 cup per plant, it stimulates root growth and helps plants get off to a fast start. Starter solution is prepared by dissolving 2 tablespoons of the dry fertilizer (11-57-0) per gallon of water or 3 pounds per 50 gallons.
Protection. Protect newly set plants from sun, cold, and wind. Homemade shelters include boxes, baskets, flower pots, and plastic milk containers. Commercial hotkaps of paper or plastic and devices containing water protect young, tender plants from frost. A wooden shingle stuck in the ground at a slant on the south side of a plant serves as a sunshade. A piece of newspaper or a paper grocery bag pinned down over a plant provides protection from the sun.
Wire tomato cages with the bottom 12 to 18 inches wrapped with clear plastic provide some protection to transplants from wind, cold, and blowing sand.

Publications
News
If you grow your own vegetables, you will likely see at least a few pesky insects that want to feed on your plants. Slugs are one of the pests you may be noticing now.
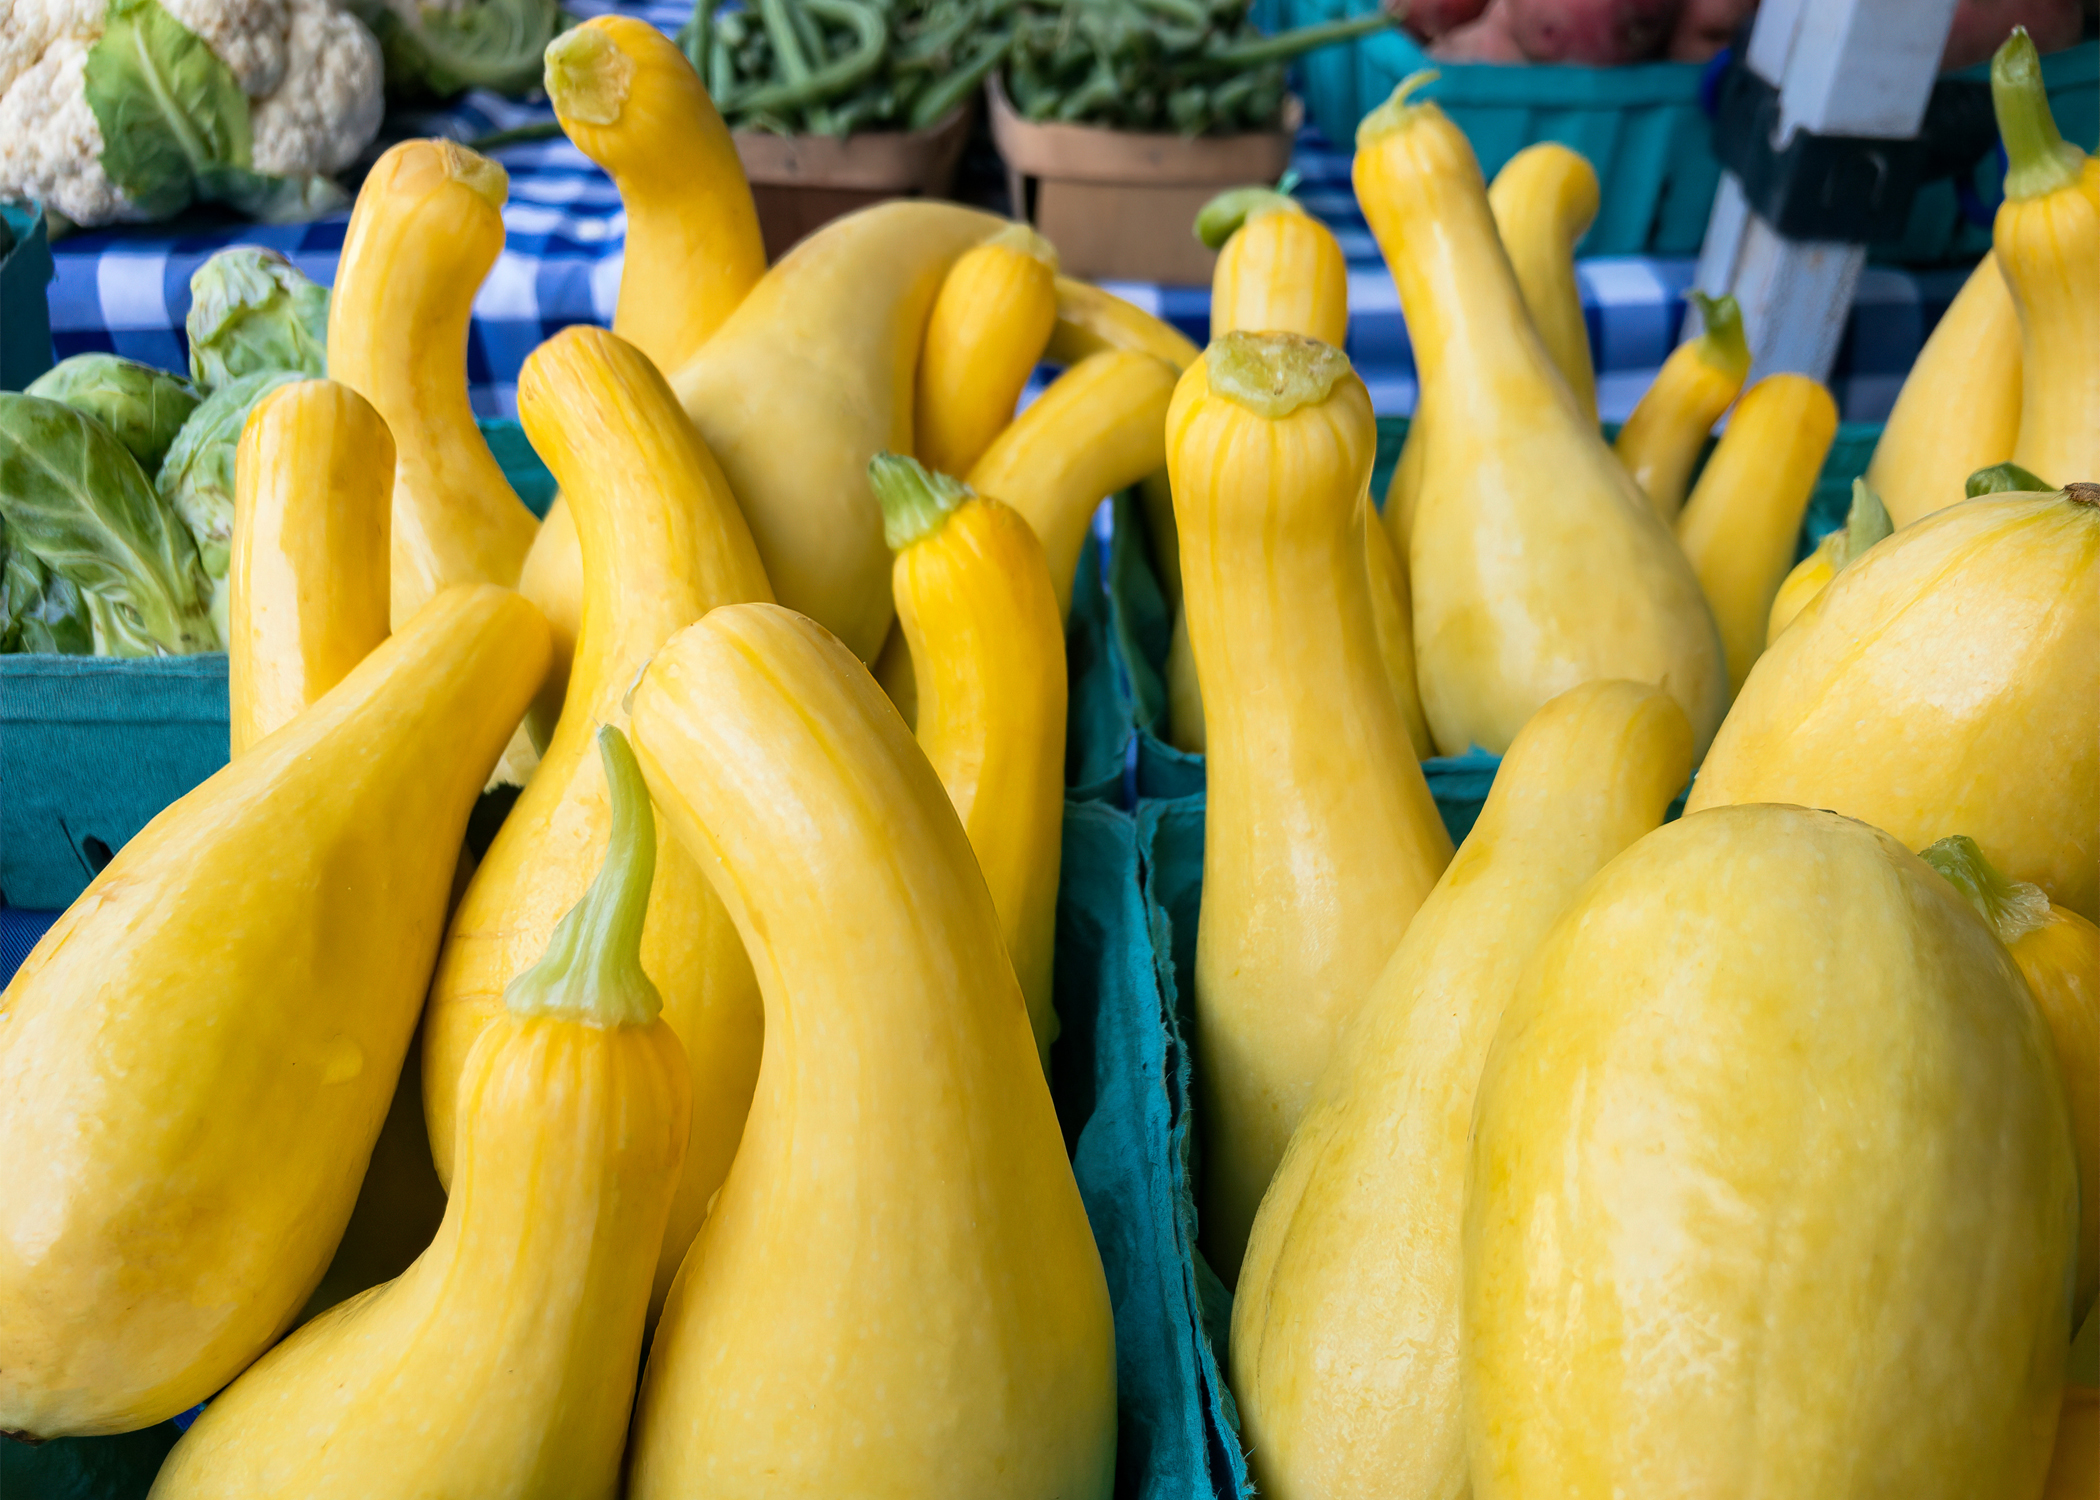
Did you know yellow squash is in the pumpkin family and are 95 percent water?

Tomatoes are a popular crop, both for commercial growers and home gardeners. Even the best tomato growers run into problems along the way! We put together a simple, easy-to-follow guide to help you spot a few of the most common tomato troubles gardeners see.