Information Possibly Outdated
The information presented on this page was originally released on December 28, 2015. It may not be outdated, but please search our site for more current information. If you plan to quote or reference this information in a publication, please check with the Extension specialist or author before proceeding.
Resolve to use plant tags in 2016 garden
Like many home gardeners, I believe I’ll always remember the name of every plant I bring home from the garden center.
Sadly, I found out early in my horticulture career that I was terribly mistaken. I can’t tell you how many times I’ve stood in my landscape scratching my head, racking my brain and wondering just what the name of that plant is.
At the beginning of a new year, perhaps the best resolution any home gardener can make is to finally use plant tags and markers.
You can get all fancy and order these essential garden helpers from one of the piles of catalogs that will be showing up in your mailbox. But I’ve got a better idea and one that just may provide a little entertainment on a cold day before spring arrives. Why not make your own plant tags and markers?
When I started making DIY plant tags, I learned a few lessons in the process.
Since I always seem to have hundreds of various plants, especially in the spring when I’m growing heirloom tomato and pepper transplants, I like to use old Venetian blind slats. One set can provide plant tags for many seasons. Simply cut them into 4- to 6-inch lengths. If you aren’t ready to redecorate and remove your current window treatments, try your local home improvement store. Most stores custom cut venetian blinds, and you may be able to get the slat leftovers for use in your garden.
The first and perhaps most important thing to remember is that the tags must remain readable.
For this reason, don’t use regular ink pens because the ink will run when it gets wet. I tried permanent markers that will write on anything. With so many colors to choose from, they seem like a natural choice. The downside is the ink fades rather quickly, even the black ones.
The best writing instrument I have found for plant tags is a simple lead pencil with soft lead, like an HB or a 2B. These pencils can be found at office supply or hobby stores. As long as the surface of the tag is a little rough, the pencil works great.
DIY plant tags can give your garden and landscape a custom look and add interest as pieces of garden art. They can be plain or fancy. Use your imagination and creativity. If you think you need some help in the creativity department, I would suggest spending a little time -- or maybe hours -- on Pinterest. I know I could spend hours admiring the posts of everyone else’s creativity.
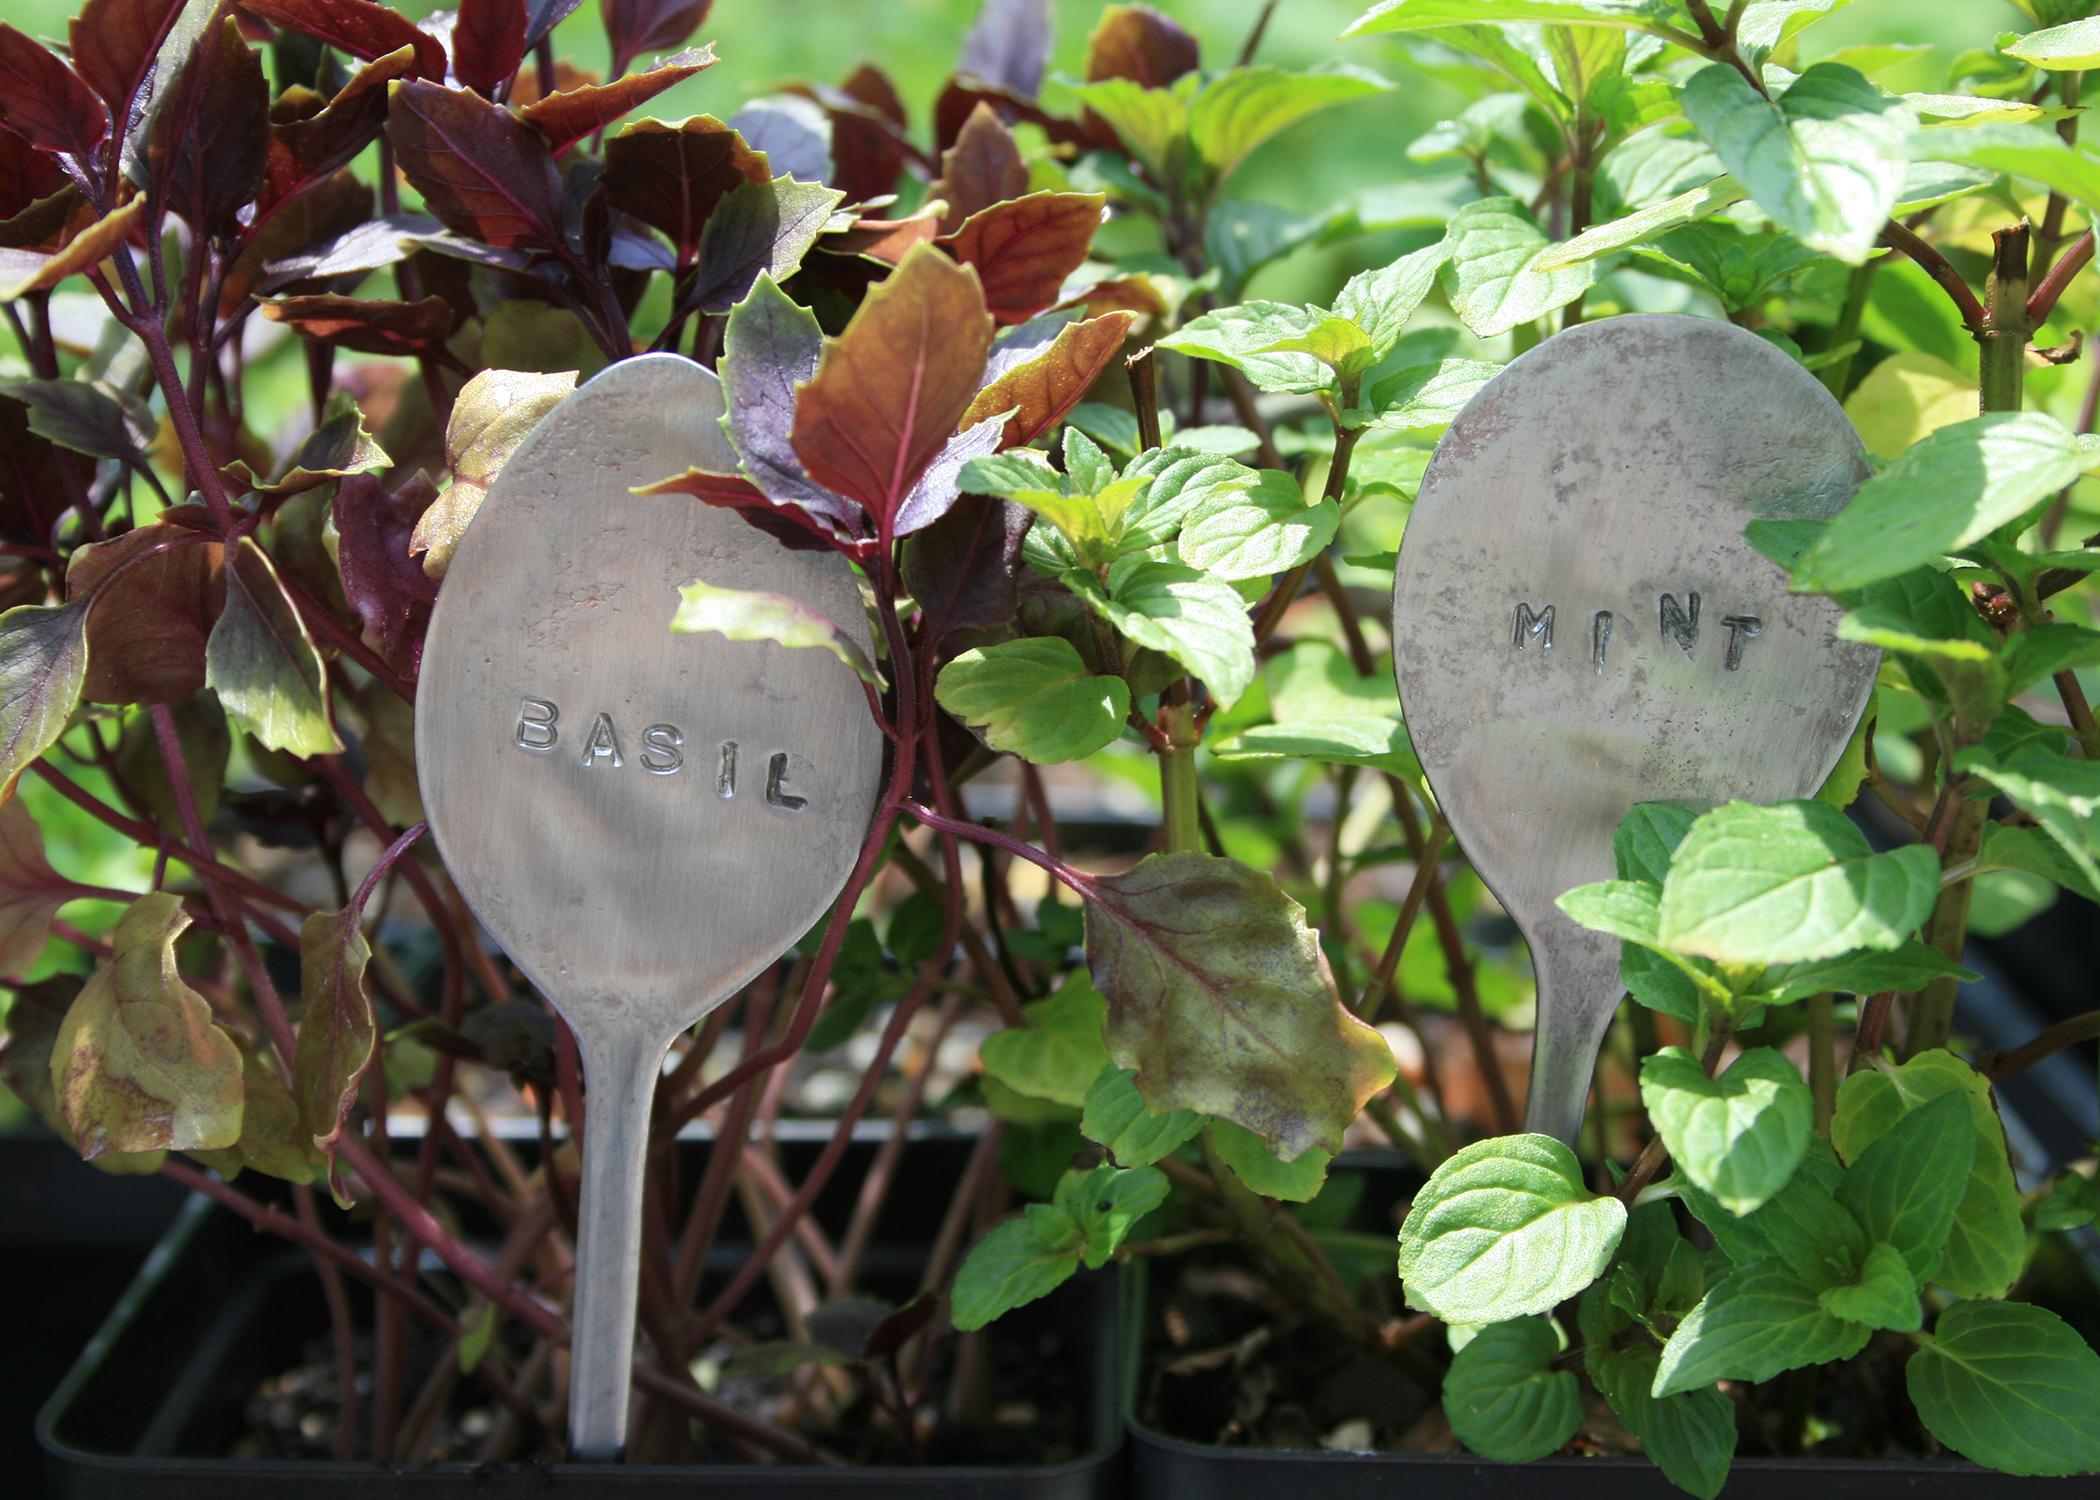
A fun idea I found browsing image boards for the herb garden is to use antique metal spoons as plant markers. Silver plate and sterling spoons are easily flattened. Stainless steel spoons need to be heated before they can be flattened. Use letter punches available from the hardware store to customize for the particular plant. These plant tags are permanent and a new way to display your spoon collection.
I got another idea from my friend Brie in North Carolina, and that is to use paver stones as markers. Write all the crop information on the paver, and it will last for many years. In fact, these may be the last set of plant markers you ever buy. At the start of each season, Brie paints over the top surface, and it’s ready for a new season.
When using DIY plant tags in the garden, the markers tell everyone, “This is my garden.”


