Information Possibly Outdated
The information presented on this page was originally released on April 29, 2013. It may not be outdated, but please search our site for more current information. If you plan to quote or reference this information in a publication, please check with the Extension specialist or author before proceeding.
Homemade plant tags give gardens personality
Like many home gardeners, I used to put plants in my landscape without worrying about labels because I was sure I’d remember what was planted where. And like most of you, I would end up scratching my head wondering what I had planted where.
One of the best gardening tips I can share, especially in the spring when you’re putting so many new things out, is to label your landscape plants.
You don’t have to buy plant tags to do this. Most gardeners have items lying around the house that are perfect. DIY plant tags can give your garden and landscape a custom look and add interest as pieces of garden art. They can be plain or fancy. Use your imagination and creativity.
Making plant tags is a great way to get kids interested in the garden.
Since much of the garden ends up on the dinner table, it makes perfect sense to use kitchen utensils for garden tags.
Recycling wooden kitchen utensils only takes markers and a little paint. If you don’t have any to recycle, buy some at the local dollar store. Paint them, write the plant name, and then apply a clear coat of polyurethane to help keep the tag readable all season long.
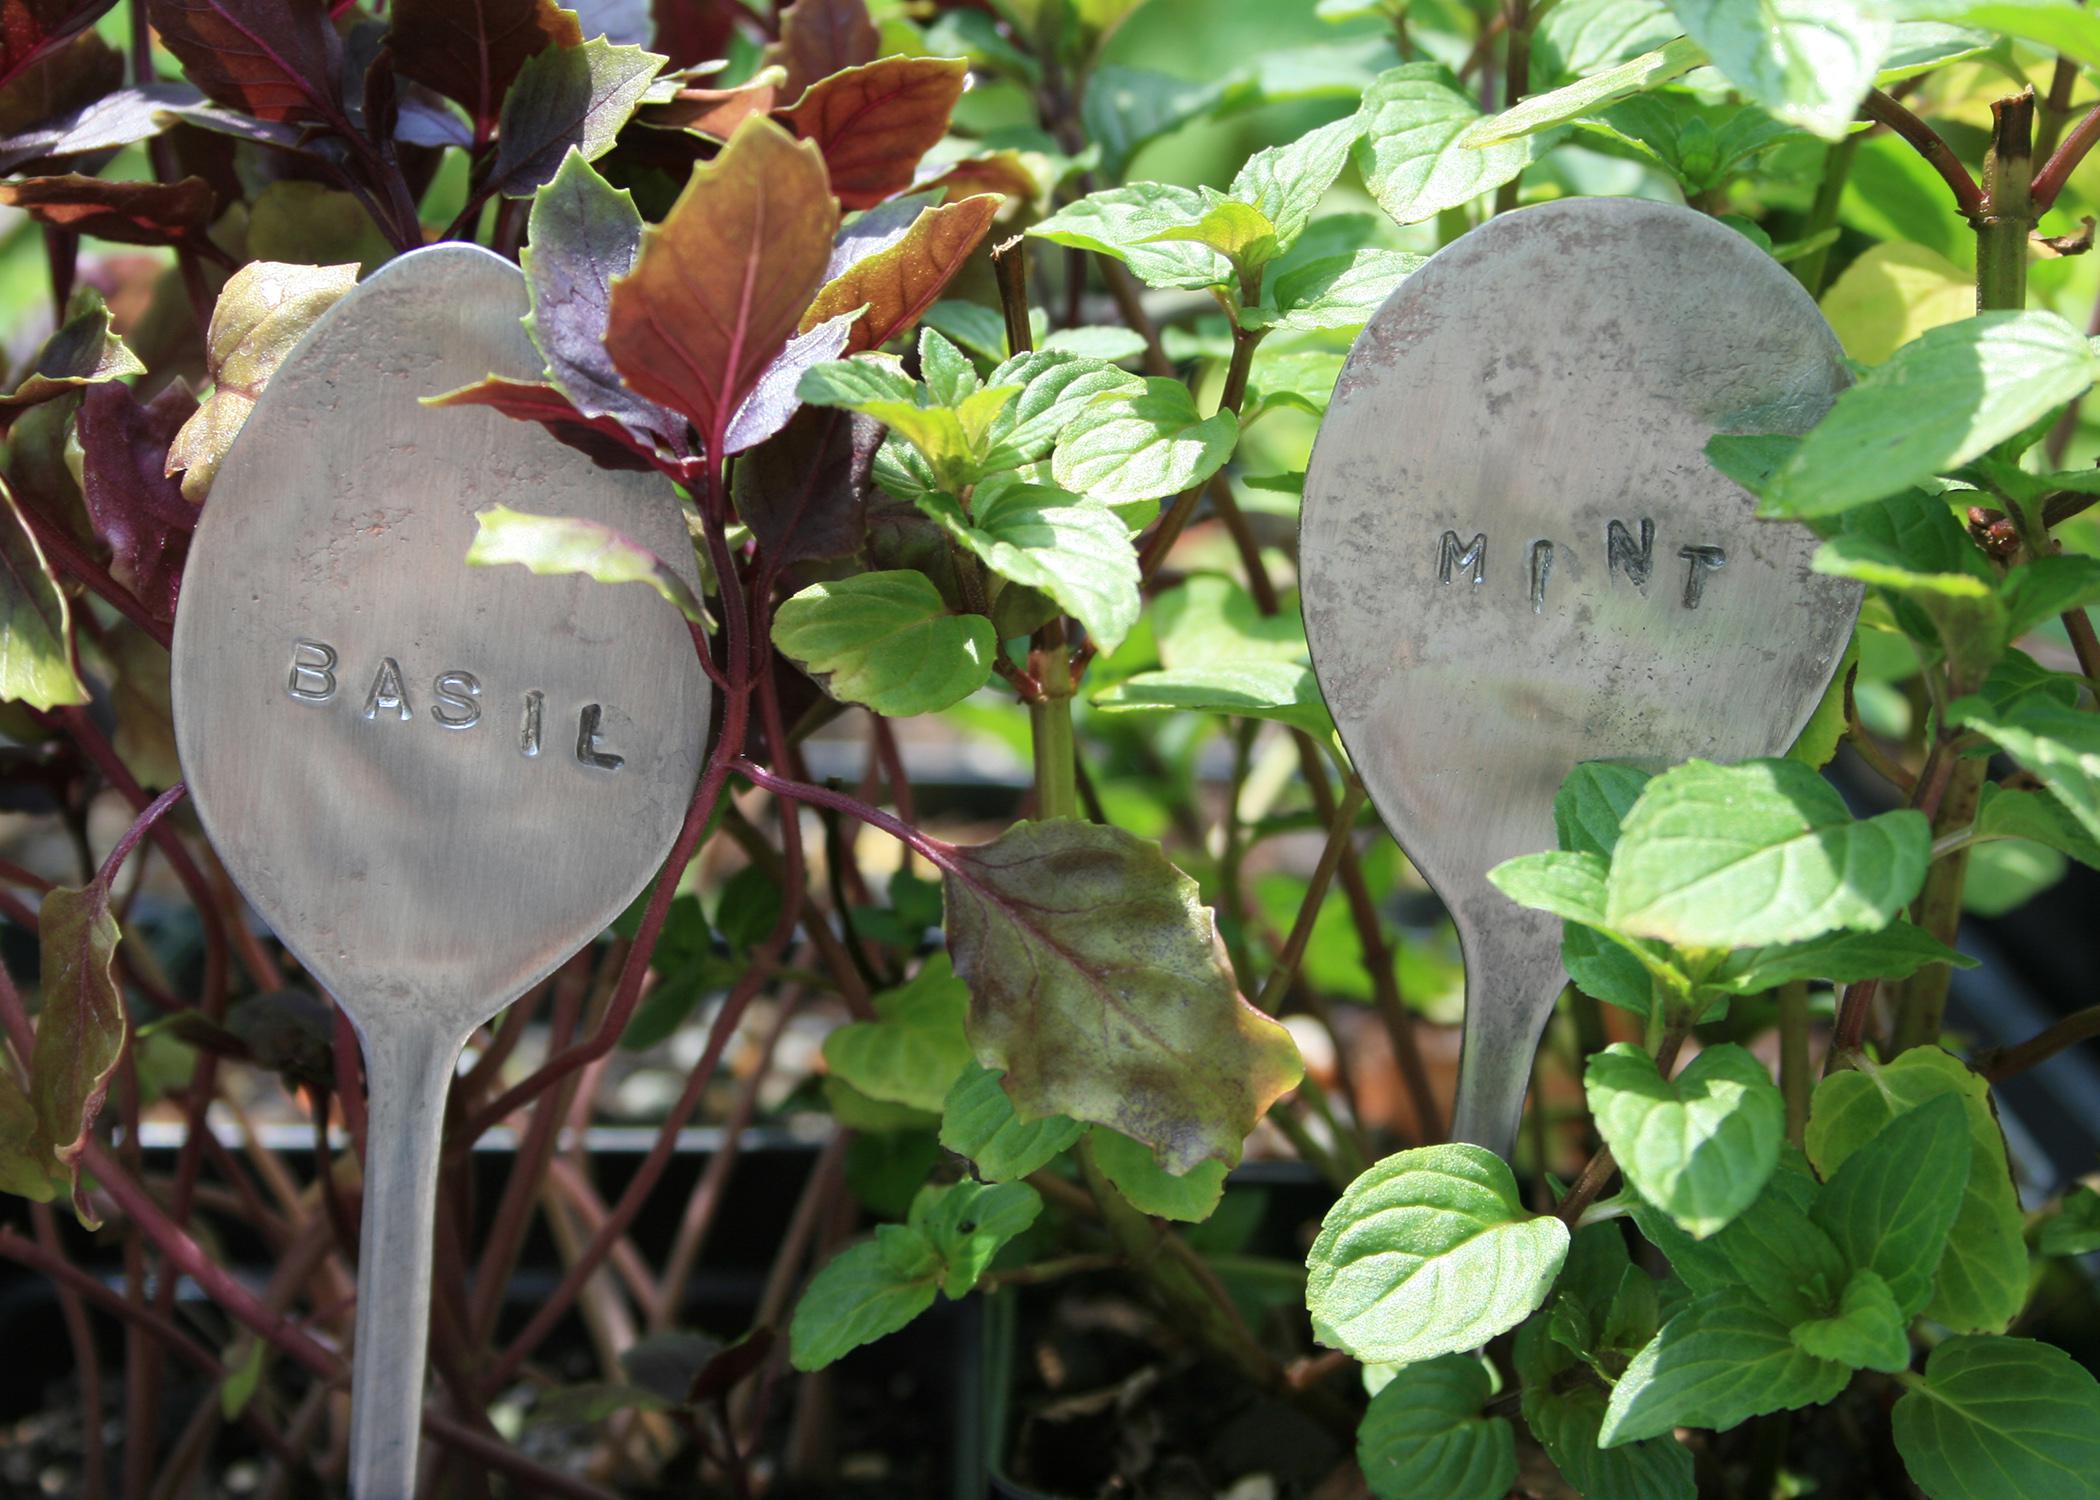
A fun idea I found browsing online is to use antique metal spoons as plant markers for the herb garden. The spoons are easily flattened, and you can use letter punches available from the hardware store to customize each one for the particular herb grown. These plant tags are permanent, and they provide a new way to display your spoon collection.
My wife was looking for tags to use in her mint garden and came up with another nice DIY idea. She printed the variety of mint on a mailing label and used clear tape to protect the label and secure it to a wooden clothespin. Using a bamboo skewer as a stake, she can reposition the clothespin as needed to remain readable as the mint grows. The tags get a natural look as the materials weather.
Some of my favorite recycled tags are old Venetian blind slats. One set could provide plant tags for many seasons. Simply cut the slats into 4- to 6-inch lengths. If you are not ready to redecorate and remove your current window treatments, see if your local home improvement store can give you leftover slats or loose ends from custom-cut venetian blinds.
I’ve learned a few lessons as I’ve made my own plant tags. Perhaps the most important one is to make sure tags remain readable. Don’t use ink that will run when the tag gets wet.
It may seem logical to use permanent marker pens since they write on nearly anything and come in so many colors. The downside is that ink fades rather quickly, even the black ones. Industrial varieties last a little longer, but even these will fade in time.
The best writing instrument I have found for plant tags is a simple, soft lead pencil like an HB or a 2B. You can find these at office supply or hobby stores. Pencils work great as long as the surface of the tag is a little bit rough. For really smooth surfaces, you are probably stuck with the markers.
Making and using your own plant tags in the garden as markers clearly states, “That’s my garden.”


