
Building Your Own Backstop
Sometimes it’s hard to find a safe and secure place to shoot. But you can make your own safe backstop without spending much money. Follow these steps and you’ll see that building your own backstop is as easy as 1, 2, 3!
Step 1: Location
You will need to scout the area carefully. Make sure you choose a secure location away from roads, outbuildings, or homes of any kind. Be absolutely certain no people or animals are or could possibly be downrange. For any small-bore or muzzleloader activity, make sure you contain a downrange distance of at least 1 mile behind the backstop free of the areas mentioned above.
Step 2: Materials
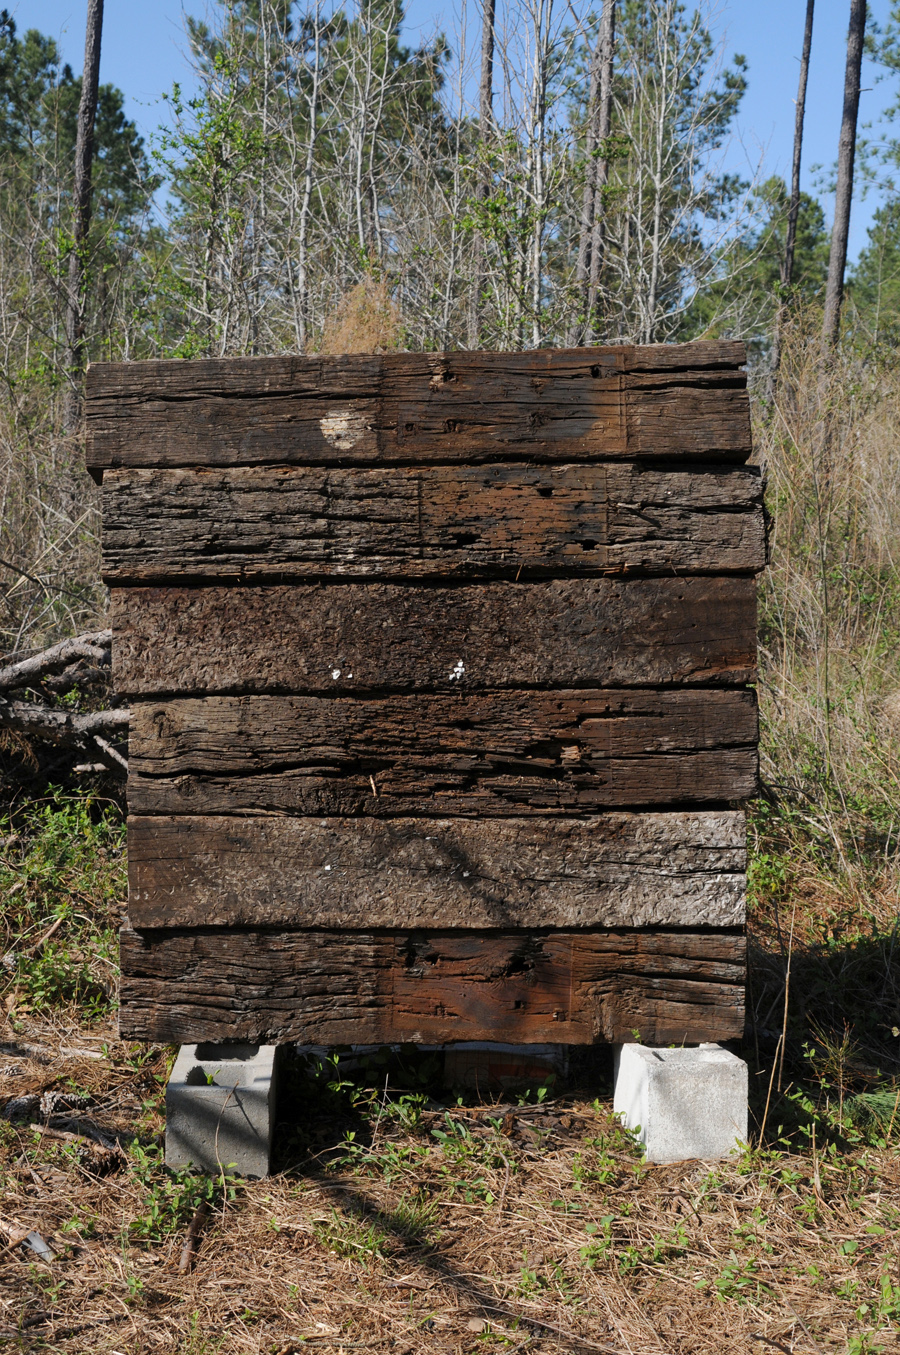
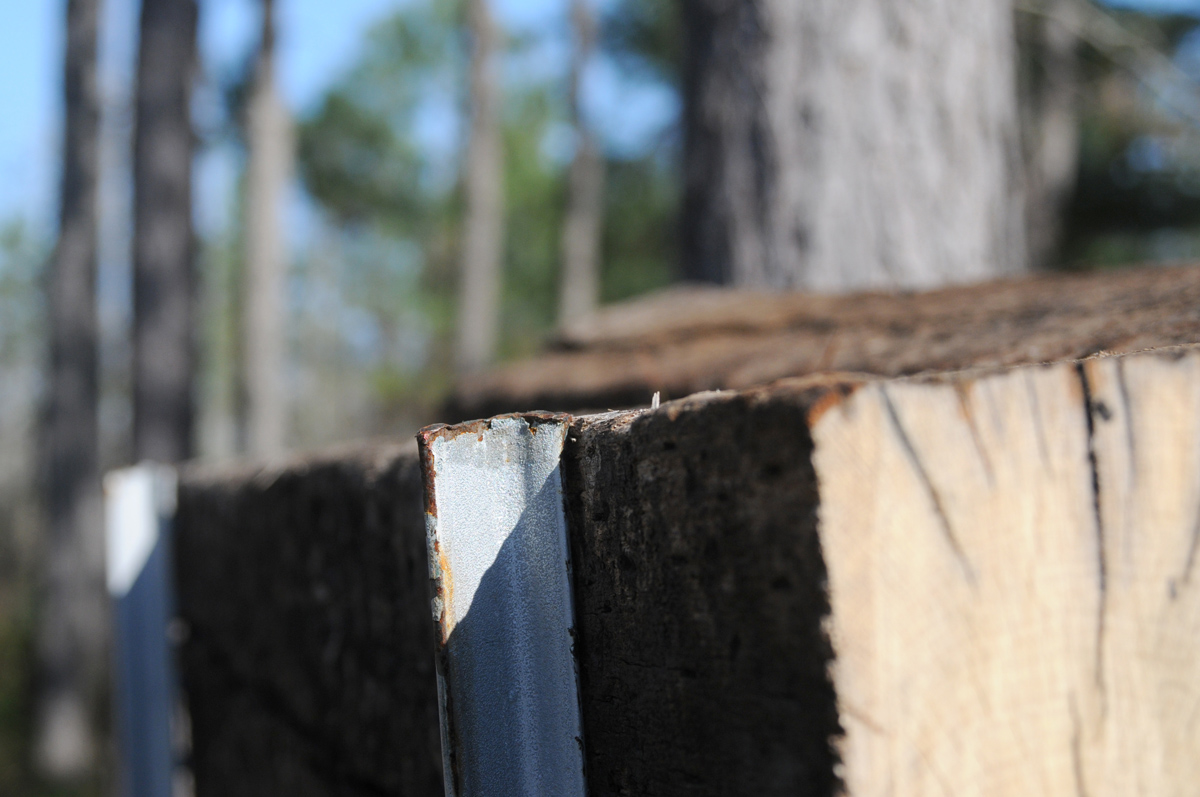
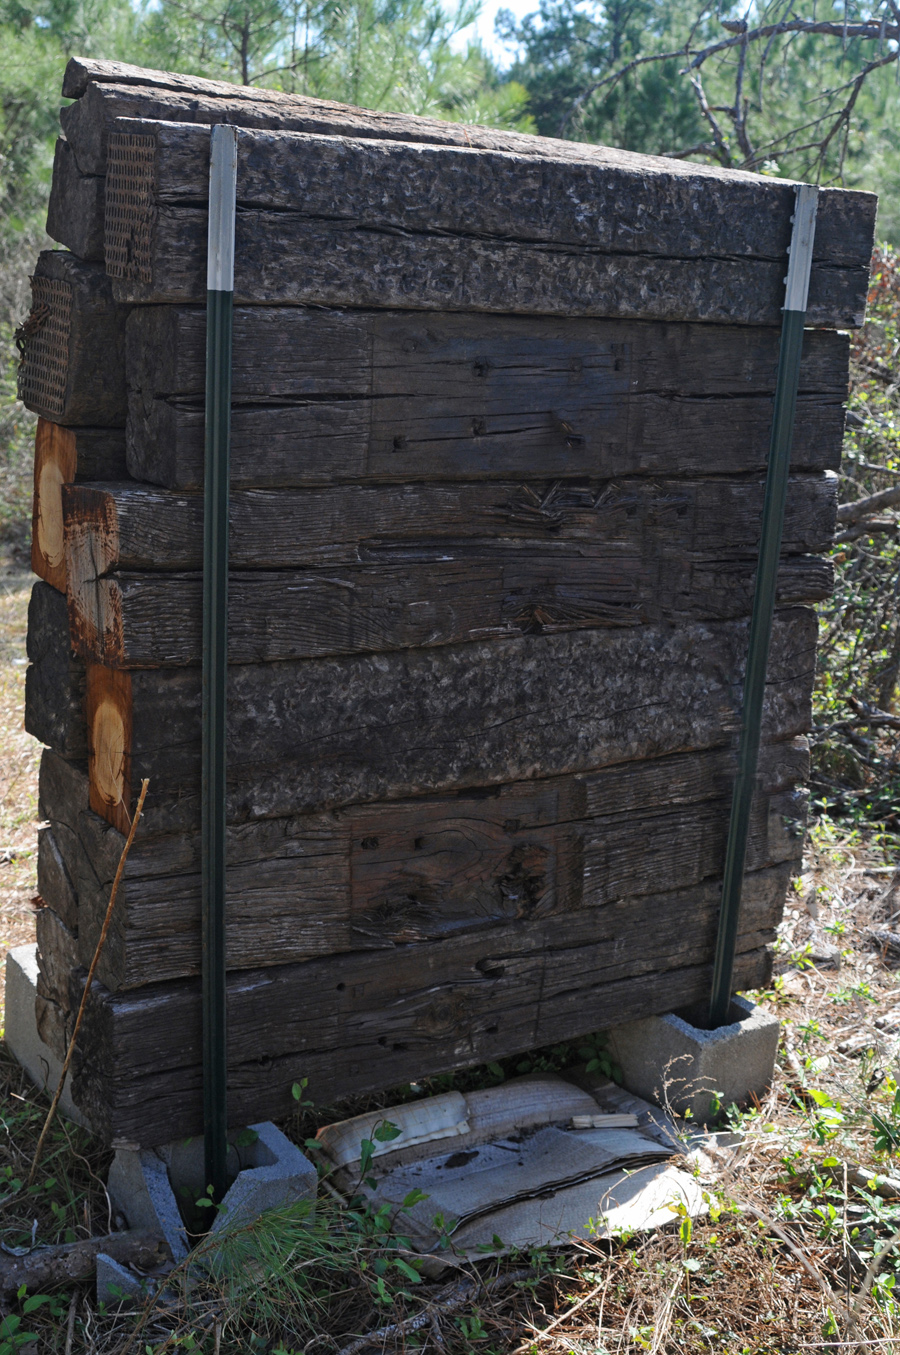
The following materials will construct a backstop approximately 4 feet wide and 5 feet tall. You can adjust the size of the backstop according to the materials you use. You will need six to eight railroad crossties. Make sure the crossties are sturdy and in relatively sound condition. You will also need four cinder blocks and two 8-foot fence T-posts.
Step 3: Construction
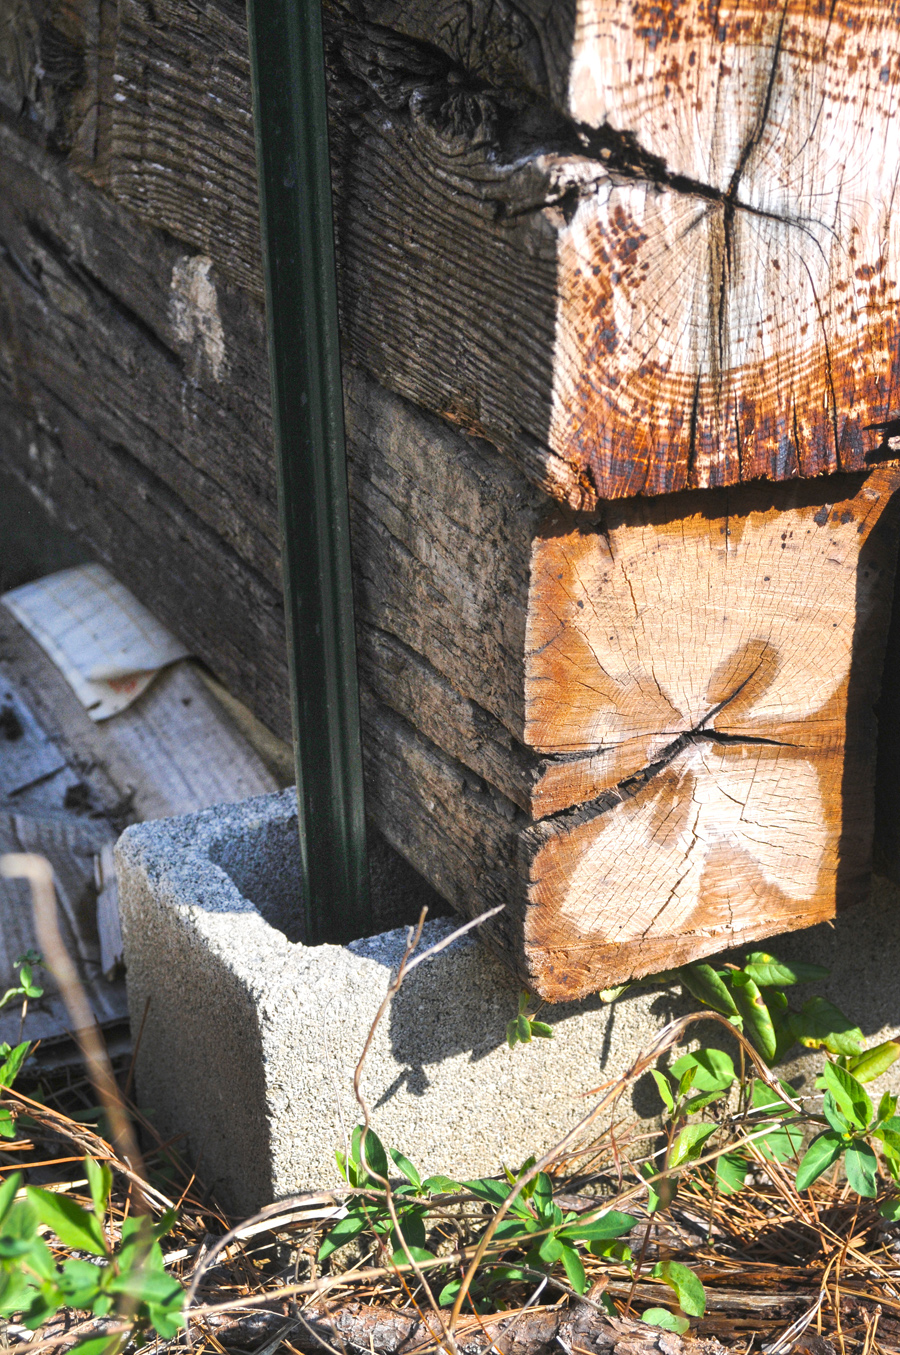
Begin by finding a relatively level section in the area you located in step 1. Place the cinder blocks end to end with the hole-sides down. Remove the back cinder blocks and use a shovel to remove about 1 inch of dirt, then replace the cinder blocks. This will give the needed offset once you start stacking the crossties.
The following photos show how to construct your backstop.
When you’re done, you’ll be ready to begin shooting. We recommend you use this backstop only for small-bore and muzzleloader shooting. Lighter projectiles such as pellets and BBs may bounce off the hard surface.
As always, stay safe and have fun!

Publication 3990 (POD-03-24)
Reviewed by Reid Nevins, 4-H Environmental Science and Education Specialist, Extension Center for 4-H Youth Development. Written by John Long, PhD, Assistant Extension Professor (retired), 4-H Youth Development.
The Mississippi State University Extension Service is working to ensure all web content is accessible to all users. If you need assistance accessing any of our content, please email the webteam or call 662-325-2262.
