
Cleanliness: A Guide to Firearm Maintenance
Imagine for just a moment what would happen if you never changed the oil in your car or truck. It would eventually quit running, right? How about if you never sharpened the blades on the lawn mower? Well, let’s just say your yard would eventually have a good cutting of hay on it. So why do we take such pride in testing the endurance of our firearms, as if their performance were not important?
It is our natural tendency in our busy lives to put off the things we can put off doing. Cleaning your firearm is not the place to procrastinate, though. To put it plain and simple, if you refuse to clean it, it will eventually refuse to work.
A firearm is a piece of machinery composed of several interacting parts. Their jobs are varied, but if one part quits working, the others will follow. So, let’s take the time to get every part in proper working order.
Step 1: Before you even pick up the gun, read the instruction manual that comes with it. If you bought your gun used, go to the manufacturer’s website and download one for your model. Reading the instruction manual familiarizes you with how it is put together and dismantled and any additional instructions that are required for its maintenance.
Step 2: Absolutely the first thing to do before breaking out the cleaning kit is to check the action and make sure that the gun is empty of all ammunition. Once this has been done, ALWAYS continue to treat the gun as if it were loaded by keeping the barrel pointed in a safe direction. What is a safe direction? A safe direction is any direction that would not harm you or anyone else if the gun accidentally went off.
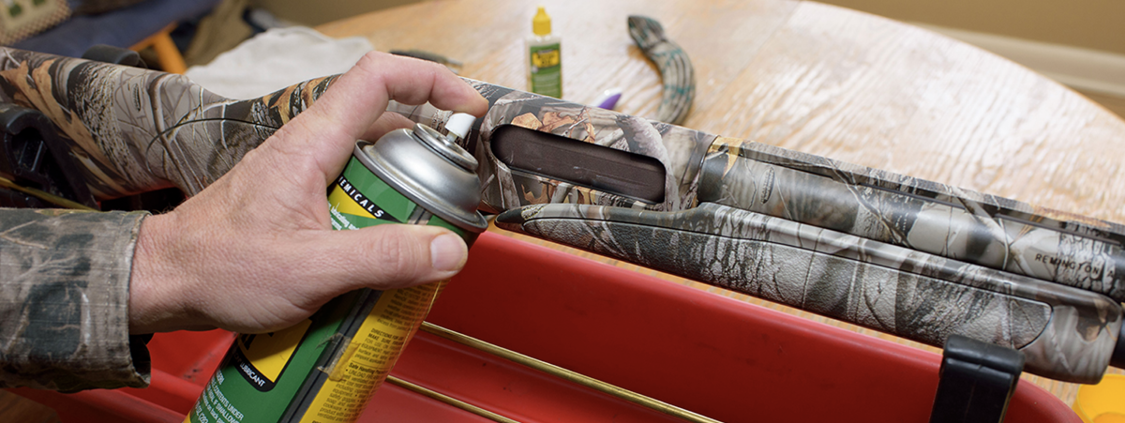
Step 3: Cleaning a firearm ranges from a quick wipe-down to full breakdown and reassembly. A quick wipe-down could be needed if, for instance, the gun was removed from its storage area for a brief inspection. Give your gun a wipe-down if your hand has touched any of the metal parts while it was out. A quick change in humidity may also call for a wipe-down. If your firearm is in a climate-controlled safe or cool house and you take it into a warm environment, the metal may sweat. That sweat can cause rust. A quick spray and wipe with a clean cotton cloth is all that is needed in this situation.
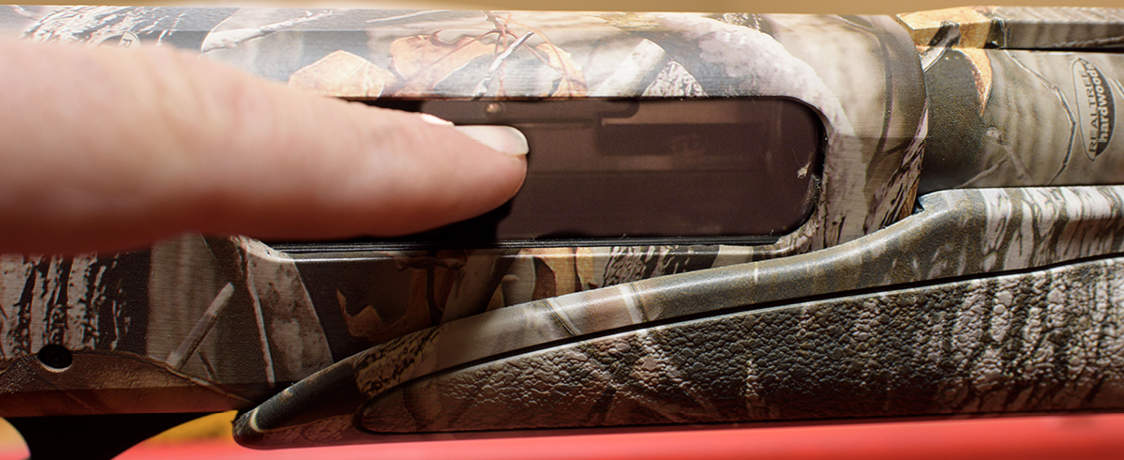
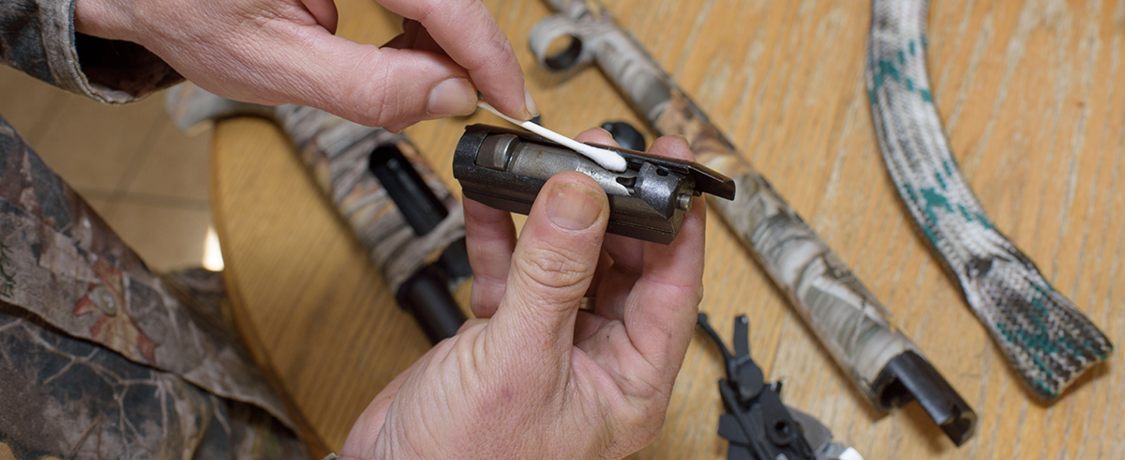
If, however, you have been using your gun all day in the dove field, a total breakdown is needed. Again, go back to the owner’s manual if you are unfamiliar with the take-down for cleaning. Clean ONLY areas you feel comfortable dismantling. There is no shame in not knowing. Some parts have small pins and springs that are under pressure and, if improperly removed, may fly off and get lost. These parts are usually the most costly, as well. It is always best to err on the side of caution and take these types of jobs to your local gunsmith. If you don’t have a gunsmith, get one.
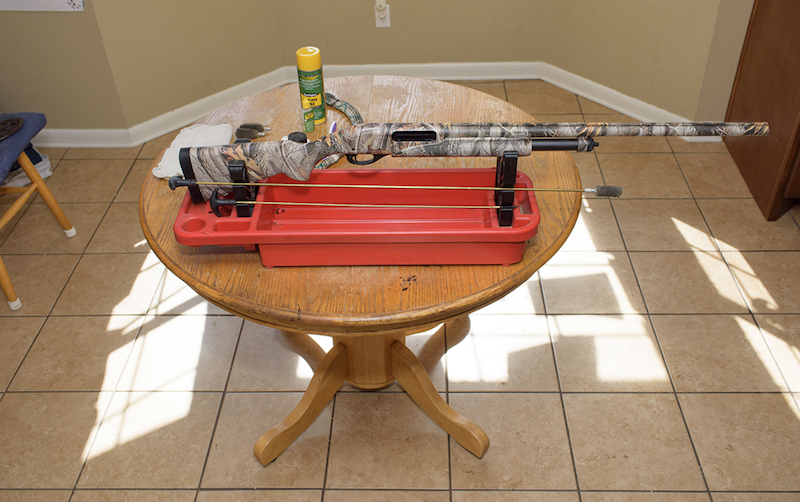
There are many different types of cleaners, and your local store can probably provide you with the supplies you need. All you will need is a can of aerosol or liquid gun oil and a cleaning kit with brushes, swabs, and cleaning rods. A word of caution: There are “universal” cleaning kits that come with several different types of brushes and swabs. Be careful with these. Make sure that you are using the correct size brushes and swabs for your gun so they don’t become lodged in the barrel or other parts of your gun.
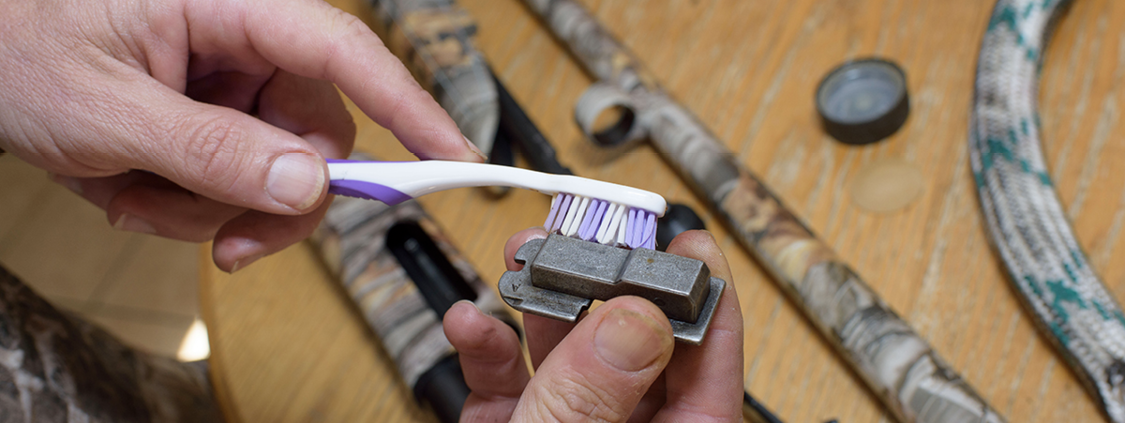
You may also want to have on hand an old toothbrush, toothpicks, cotton ear swabs, and a can of compressed air. All of these tools can remove small debris and make your job much easier. If you are cleaning a gun with wooden stock and forearm, you can keep the wooden parts looking good with furniture polish. Cleaning cloths can consist of anything from old t-shirts and socks to a fine chamois. It’s really up to you, but make sure they are clean. A cloth will not clean the firearm if it is dirty; you are just putting more dirt and grime back into the gun from previous cleanings. Wash your cleaning cloths regularly.
Step 4: Reassemble the firearm if you disassembled it. Make sure there are no “spare parts” left in your work area. Again, make sure that the firearm is not loaded. Take the gun outside. Point it in a safe direction and dry fire the gun. If you don’t hear the snap of the pin, you may have done something wrong when you put it back together. Disassemble the gun again to see what went wrong.
Step 5: Storing the firearm properly ensures the gun stays clean when not in use. If you have a problem with humidity in your storage area, a simple, can-style humidifier will do the trick. Be aware of the storage environment. If conditions change, take appropriate action to alleviate problems before damage occurs. Routinely check firearms that are used infrequently or seasonally. Guns that sit in storage will benefit from a mid-year cleaning.
Are you ready to take on the cleanliness challenge? If so, forge forward! Take care of your gun and it will take care of you!
The information given here is for educational purposes only. References to commercial products, trade names, or suppliers are made with the understanding that no endorsement is implied and that no discrimination against other products or suppliers is intended.
Publication 2980 (POD-05-22)
Prepared by the MSU Extension Center for 4-H Youth Development.

The Mississippi State University Extension Service is working to ensure all web content is accessible to all users. If you need assistance accessing any of our content, please email the webteam or call 662-325-2262.
